Program CyberPi with a Third-party Python Editor
The following is a step by step guide for users with Windows. Mac users may use it as a reference.
Quick start for users who already have a Python environment and a third-party editor installed:
- Skip to step 3, or install pyserial and cyberpi libraries with the following commands:
pip install pyserialpip install cyberpi
1. Set up a Python environment
- Go to the Python.org to select and download Python for your operating system.
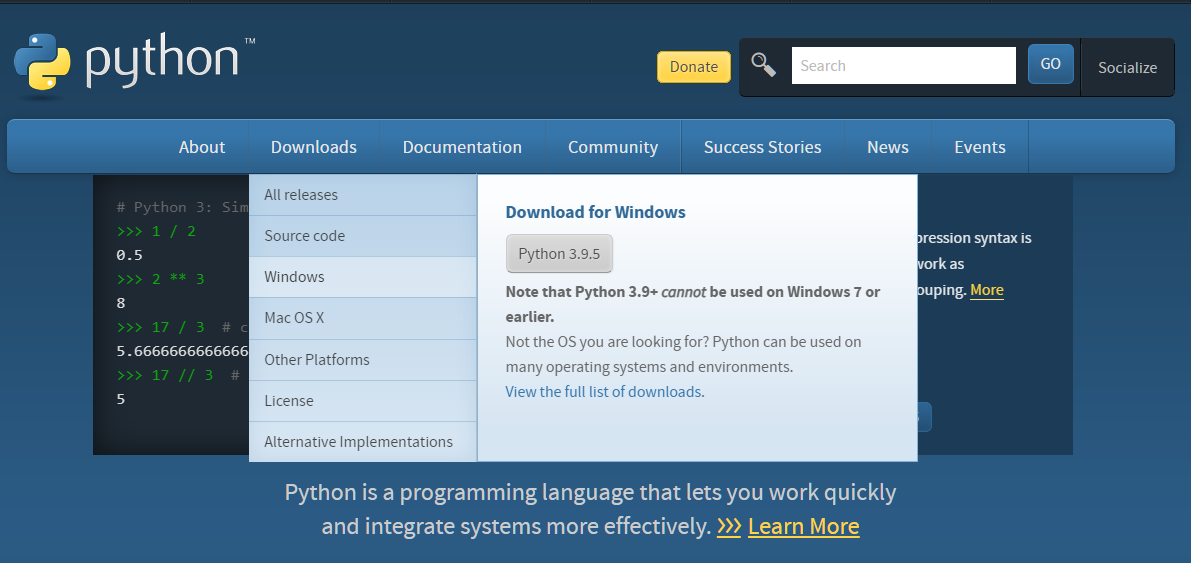
- Click the selected version to install, remember to check Add Python 3.6 to PATH, and then click Install Now.
- You can also click Customize installation to install Python environment to a specified directory.

2. Install and configure the third-party Python editor (Visual Studio Code as an example)
Note: The steps may vary depending on the editor you are using. It is also recommended that you configure the installed Python environment in the editor.
- Download VS Code according to your operating system. Download VS Code
- Click the downloaded installation package to install it. (Just follow the prompts to install)
- Click the VS Code icon on the desktop to run the program.
- On the left side of the software interface, find the icon in the red rectangle as shown below and click on it.

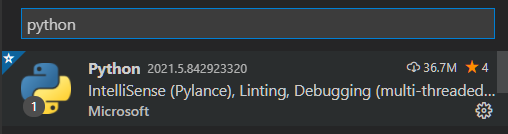
- Search for Python extension and install it. Note that the publisher is Microsoft.
- Configure the previously installed Python environment in VS Code editor.
- Create a new folder and a .py file and you can write basic Python programs.
3. Preparation for programming CyberPi with the third party editor
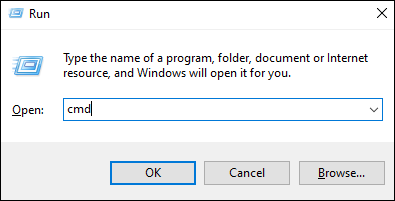
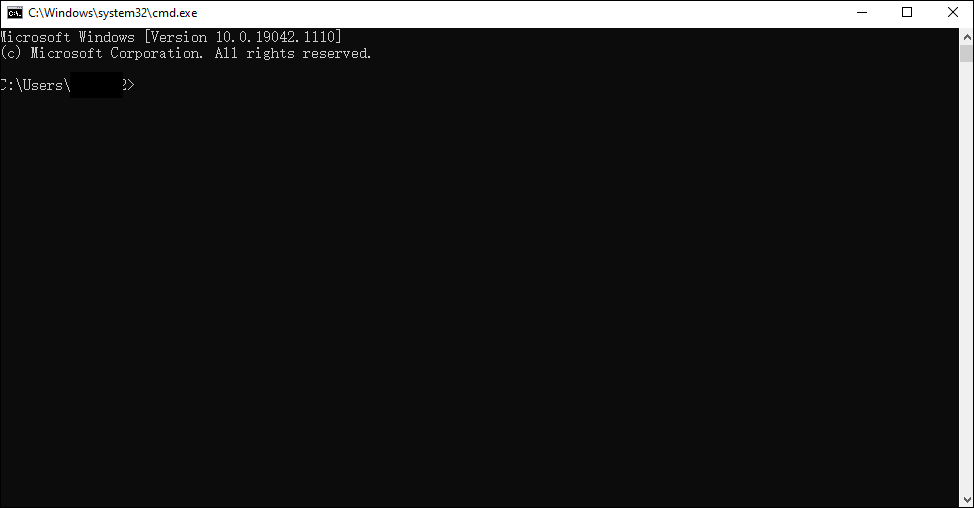
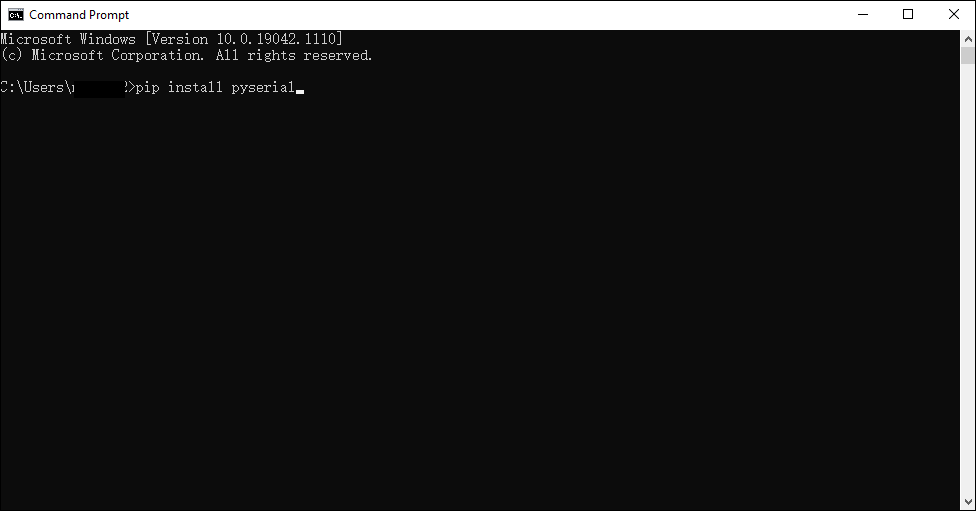
- In Windows OS, press Windows + R on the keyboard, type **CMD **and press Enter, then the CMD window will pop up.
-
Install pyserial library, which ensures that CyberPi is connected to the third-party editor via USB cable or Bluetooth dongle.
Type `pip install pyserial` in the CMD window and press enter, wait for the library to be installed.
-
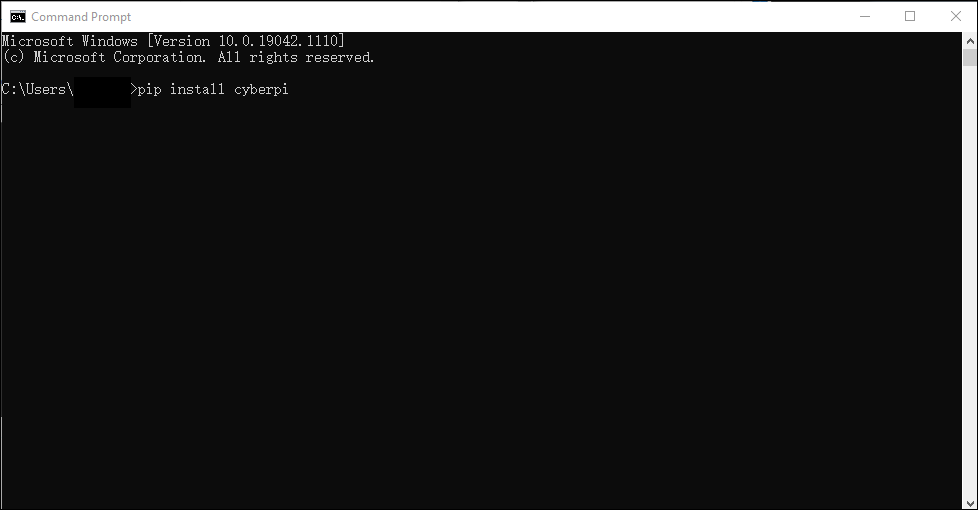
Install cyberpi library, which is a Python library used for online programming of CyberPi.
 Type ` pip install cyberpi` in the CMD window and press **Enter**, wait until the library is installed.

 You can refer to the [Python API Documentation for CyberPi](https://www.yuque.com/makeblock-help-center-en/mcode/cyberpi-api).
- After the installation is completed, you can write programs in the editor configured with the Python environment.
4. Note
The third-party editor currently only supports online programming for CyberPi.
5. Sample programs
CyberPi mouse
Need to install pynput module. Refer to the above step pip install pynput
""""
Name: Cyber Pi mouse
Introduction:
Use the gyroscope module, buttons of Cyber Pi, and the mouse control function of pynput module, to convert Cyber Pi into a mouse.
You can also use the Bluetooth module to convert Cyber Pi into a wireless mouse.

""""
from pynput.mouse import Button, Controller
import cyberpi
import time

mouse = Controller()

while True:
    if cyberpi.is_tiltback():
        mouse.move(-3, 0)
        print(mouse.position)
    if cyberpi.is_tiltforward():
        mouse.move(3, 0)
    if cyberpi.is_tiltleft():
        mouse.move(0, -3)
    if cyberpi.is_tiltright():
        mouse.move(0, 3)
    if cyberpi.controller.is_press("b"):
        mouse.press(Button.left)
        mouse.release(Button.left)
        mouse.press(Button.left)
        mouse.release(Button.left)
    if cyberpi.controller.is_press("a"):
        mouse.press(Button.right)
        mouse.release(Button.right)
    time.sleep(0.01)
CyberPi voice typer
""""
Name: 074 Cyber Pi voice typer
Hardware: Cyber Pi
Introduction:
Use the voice recognition function of Cyber Pi, and the keyboard control function of pynput module.
The result of voice recognition will be printed out in a file through pynput.
This program currently only supports English.

""""
import cyberpi
from pynput.keyboard import Key, Controller
import time

keyboard = Controller()
cyberpi.console.clear()
cyberpi.led.on(0, 0, 0)
cyberpi.set_recognition_url()
cyberpi.cloud.setkey("Enter the cloud service authorization code")    # You can get it through your mBlock account
cyberpi.wifi.connect("WIFI name", "WIFI password")
while not cyberpi.wifi.is_connect():
    pass
cyberpi.led.on(0,0,255)
cyberpi.console.println("WIFI connected")
cyberpi.console.println("--------------")
cyberpi.console.println("Press the button A to start voice recognition")
while True:
    if cyberpi.controller.is_press('a'):
        keyboard.press(Key.space)
        cyberpi.console.clear()
        cyberpi.led.on(100, 0, 0)
        cyberpi.console.println("Start voice recognition")
        cyberpi.audio.play("switch")
        cyberpi.console.println("--------------")
        cyberpi.cloud.listen("english", 2)
        cyberpi.led.on(0, 0, 0)
        say = cyberpi.cloud.listen_result()
        cyberpi.console.println(say)
        cyberpi.console.println("--------------")
        for i in say:
            if i == '':
                 keyboard.press(' ')
            else:
                keyboard.press(str(i))
                time.sleep(0.03)
Matplotlib volume histogram
import cyberpi
import time
from matplotlib import pyplot as plt

plt.rcParams['font.sans-serif'] = ['Microsoft YaHei']
plt.ion()

while True:
    loud = cyberpi.get_loudness()
    plt.clf()
    plt.xlabel("Data name")
    plt.ylabel("Volume readings")
    y_locator = plt.MultipleLocator(5)
    ax=plt.gca()
    ax.yaxis.set_major_locator(y_locator)
    plt.ylim(0,100)
    plt.bar('Volume', loud, align='center',label=f'Temperature{loud}')
    plt.title('Cyber Pi sound sensor readings')
    plt.legend()
    plt.show()
    plt.pause(0.01)
Matplotlib multi-chart display
from matplotlib import pyplot as plt
import time
import cyberpi

loud_list = []
bri_list = []
plt.rcParams['font.sans-serif'] = ['Microsoft YaHei']
plt.ion()
plt.figure(figsize=(10,10))
plt.figure(1)
x_locator = plt.MultipleLocator(5)
y_locator = plt.MultipleLocator(5)
while True:
    loud = cyberpi.get_loudness()
    bri = cyberpi.get_bri()
    loud_list.append(loud)
    bri_list.append(bri)
    battery = cyberpi.get_battery()
    size = [battery, 100-battery]
    status = [f'Remaining power:{battery}%', f'Power used:{100-battery}%']
    ax1 = plt.subplot(221)
    plt.title('Light line chart')
    ax1.plot(bri_list)
    ax2 = plt.subplot(222)
    plt.title('Sound histogram')
    ax2.xaxis.set_major_locator(x_locator)
    ax2.yaxis.set_major_locator(y_locator)
    plt.ylim(0,100)
    ax2.bar('sound', loud)
    ax3 = plt.subplot(223)
    ax3.xaxis.set_major_locator(x_locator)
    ax3.yaxis.set_major_locator(y_locator)
    plt.xlim(0,100)
    plt.ylim(0,100)
    plt.title('Sound and volume scatter chart')
    ax3.scatter(loud_list,bri_list)
    ax4 = plt.subplot(224)
    ax4.pie(size, labels = status, radius=1,wedgeprops = {'width': 0.3, 'edgecolor': 'w'})
    plt.title('Cyber Pi power')
    plt.pause(0.2)
    plt.clf()
    if cyberpi.controller.is_press('a'):
        break
    if len(bri_list) > 500:
        bri_list = []
        loud_list = []