Programming CyberPi on Chromebook
Install mLink on Chromebook and Start mBlock 5
**Step1: ** Please access this link and find mLink for Chromebook (need pull down the page).
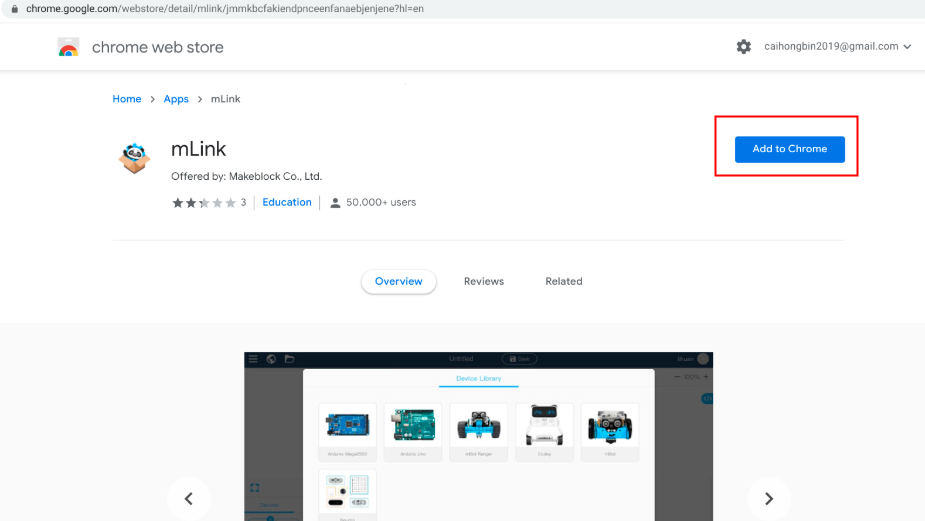
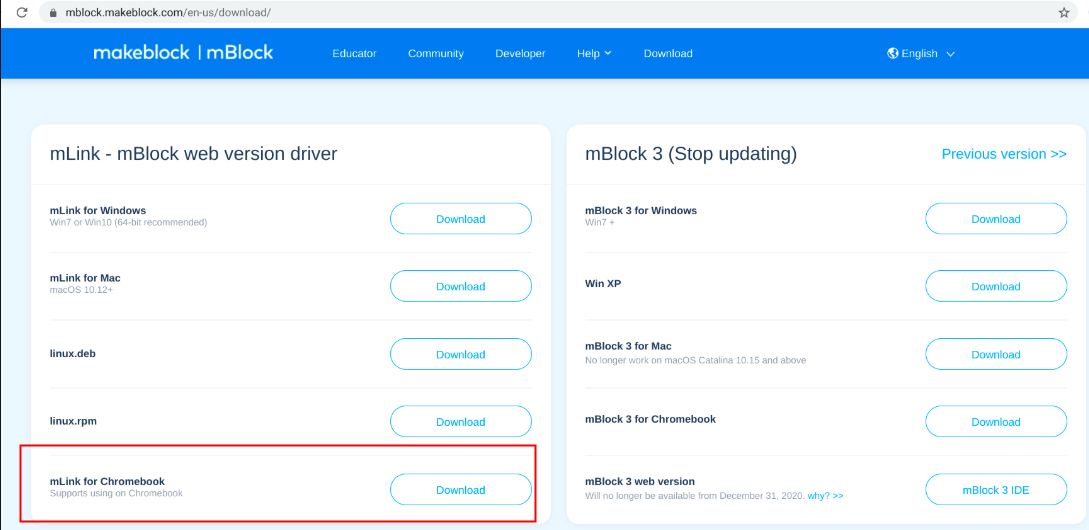 Step 2: Please click on "Download" to enter the chrome web store, then please click on "Add to Chrome" to install mLink.
:::info
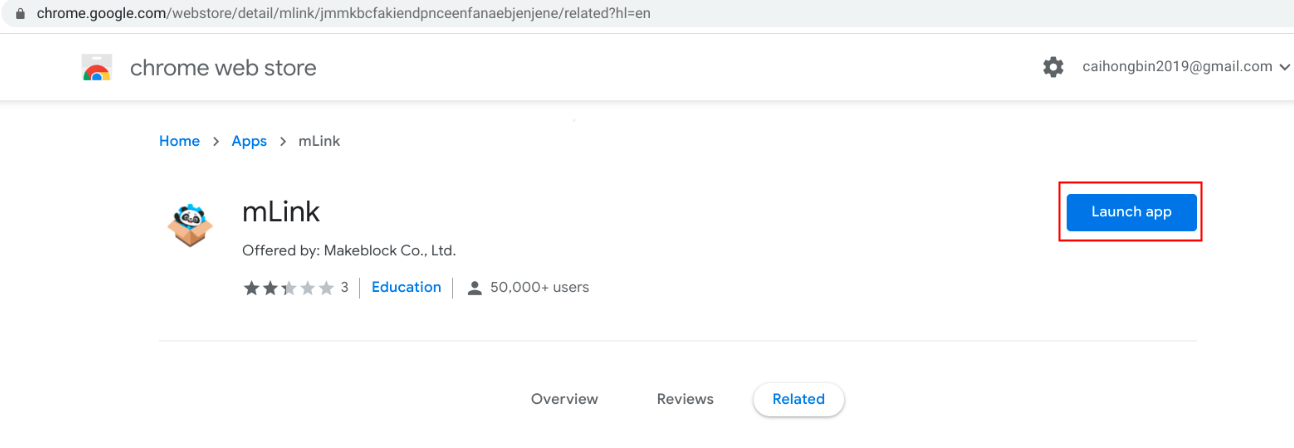
Note: If you have already installed mLink before, you will see the option "Launch app" directly and you can bypass step2.
:::
Step 2: Please click on "Download" to enter the chrome web store, then please click on "Add to Chrome" to install mLink.
:::info
Note: If you have already installed mLink before, you will see the option "Launch app" directly and you can bypass step2.
:::
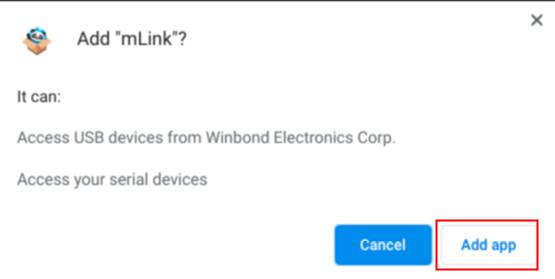
 Then you will see a window pops up, just click on "Add app", and the option "Launch app" will be available.
 :::info
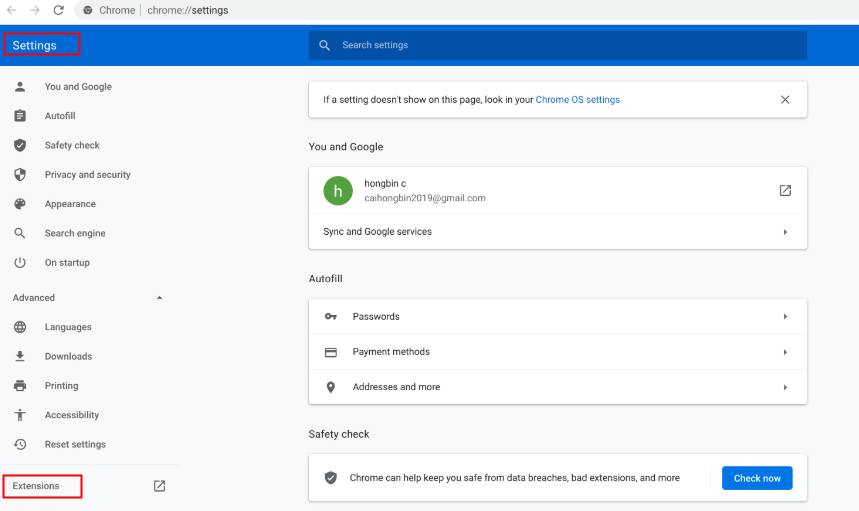
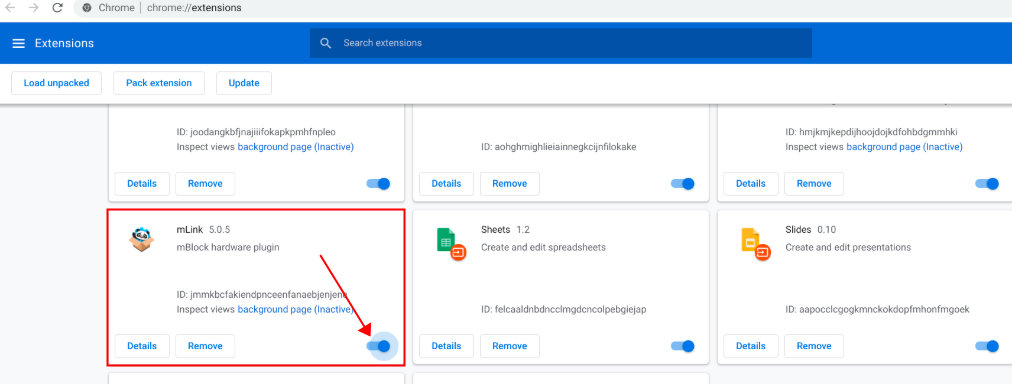
Note: Once you can't find the "Launch app" option after installing mLink, please check if mLink is enabled by going to "Settings"->"Extension".Extension".
:::
:::info
Note: Once you can't find the "Launch app" option after installing mLink, please check if mLink is enabled by going to "Settings"->"Extension".Extension".
:::
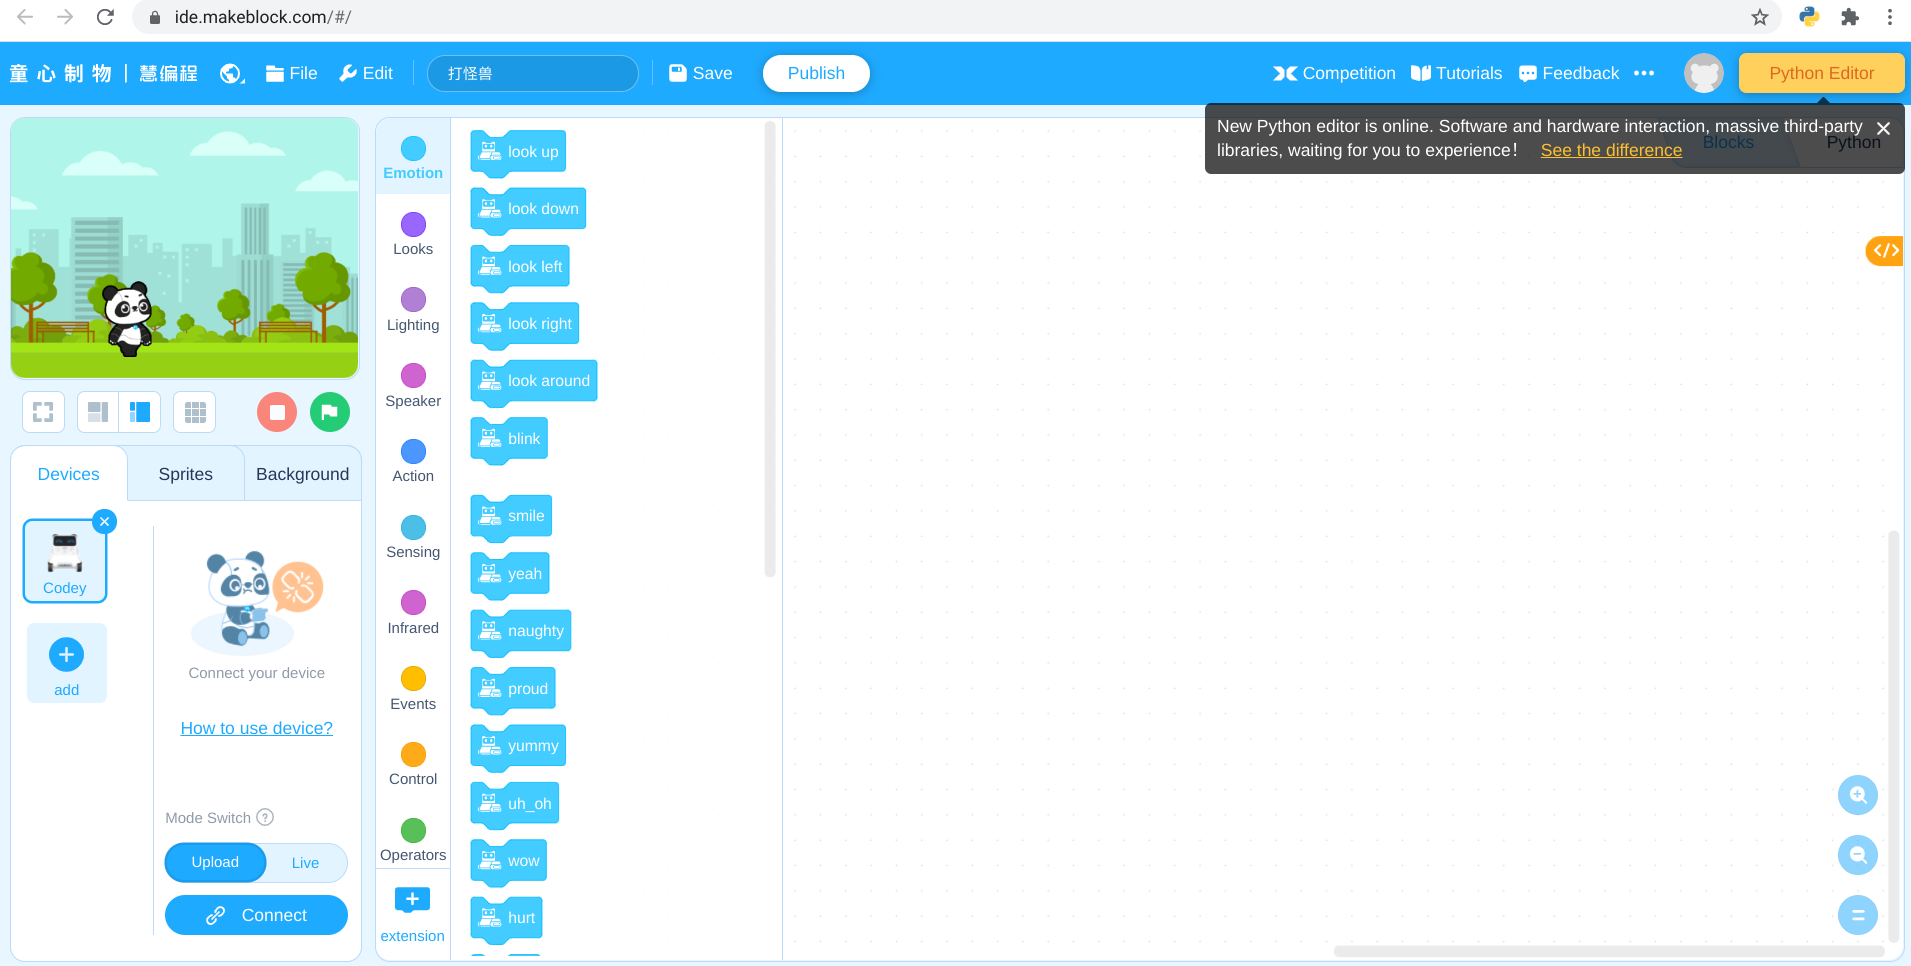
 Step 3: Click on "Launch app" and you will enter the web version mblock 5 software:
Connect CyberPi to mBlock 5 on Chromebook
Step 1: Connect CyberPi to the Chromebook with a USB cable.
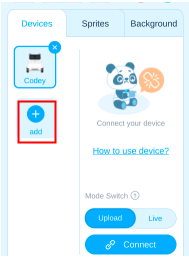
Step 2: Click on the "+" icon to open the Device Library:
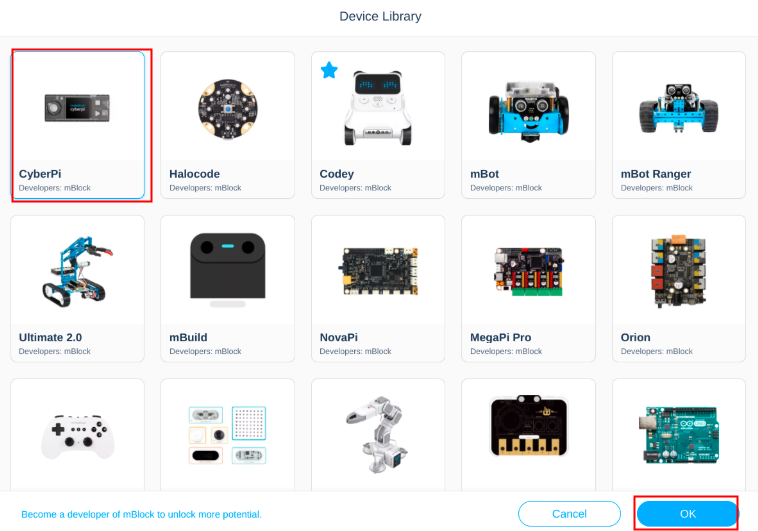
 Step 3: Find the device "CyberPi" and select it, then click on "Ok" and you will see device CyberPi added under "Devices":
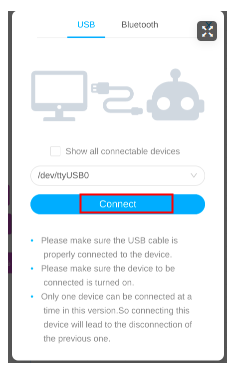
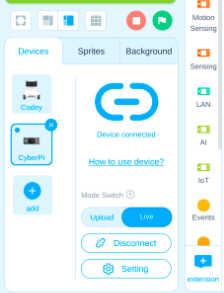
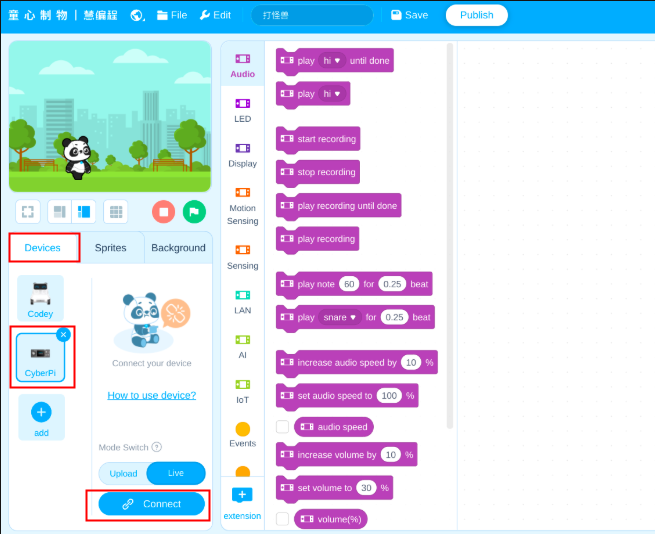 Step 4: Click on the icon "Connect" and a connection window pops up, normally, the serial port for CyberPi will be available automatically, please just clink on "Connect" and you will see the status after connected.
Programming CyberPi with mBlock 5 on Chromebook
live mode
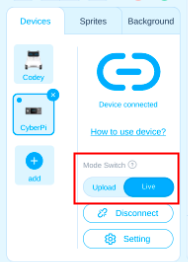
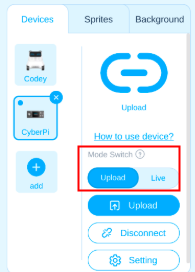
Step 1: Make sure the Mode Switch is pulled to "Live"
 Step 2: Drag out a simple program to test CyberPi (here I just drag out the display[][][][][] block to test the LEDs on CyberPi as an example).
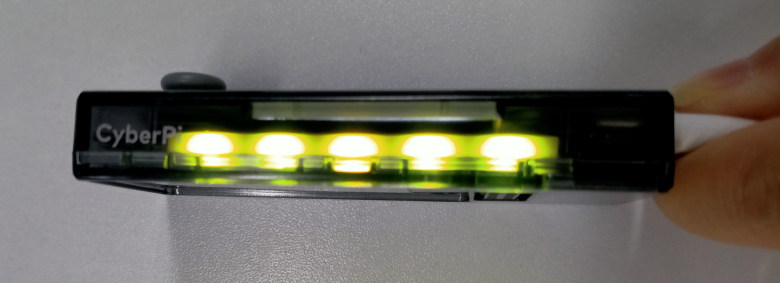
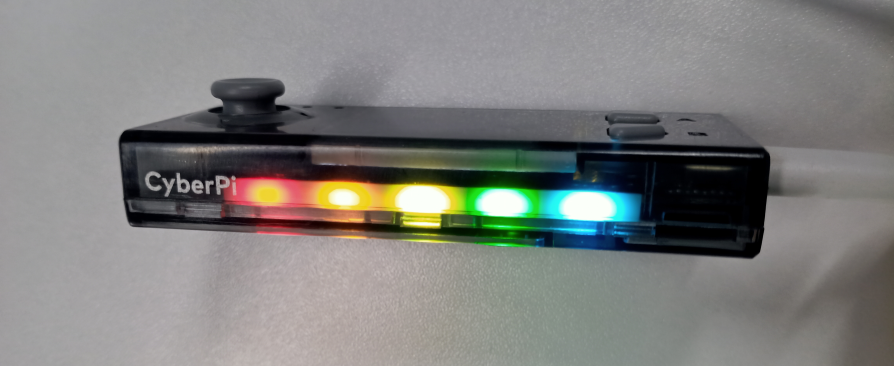
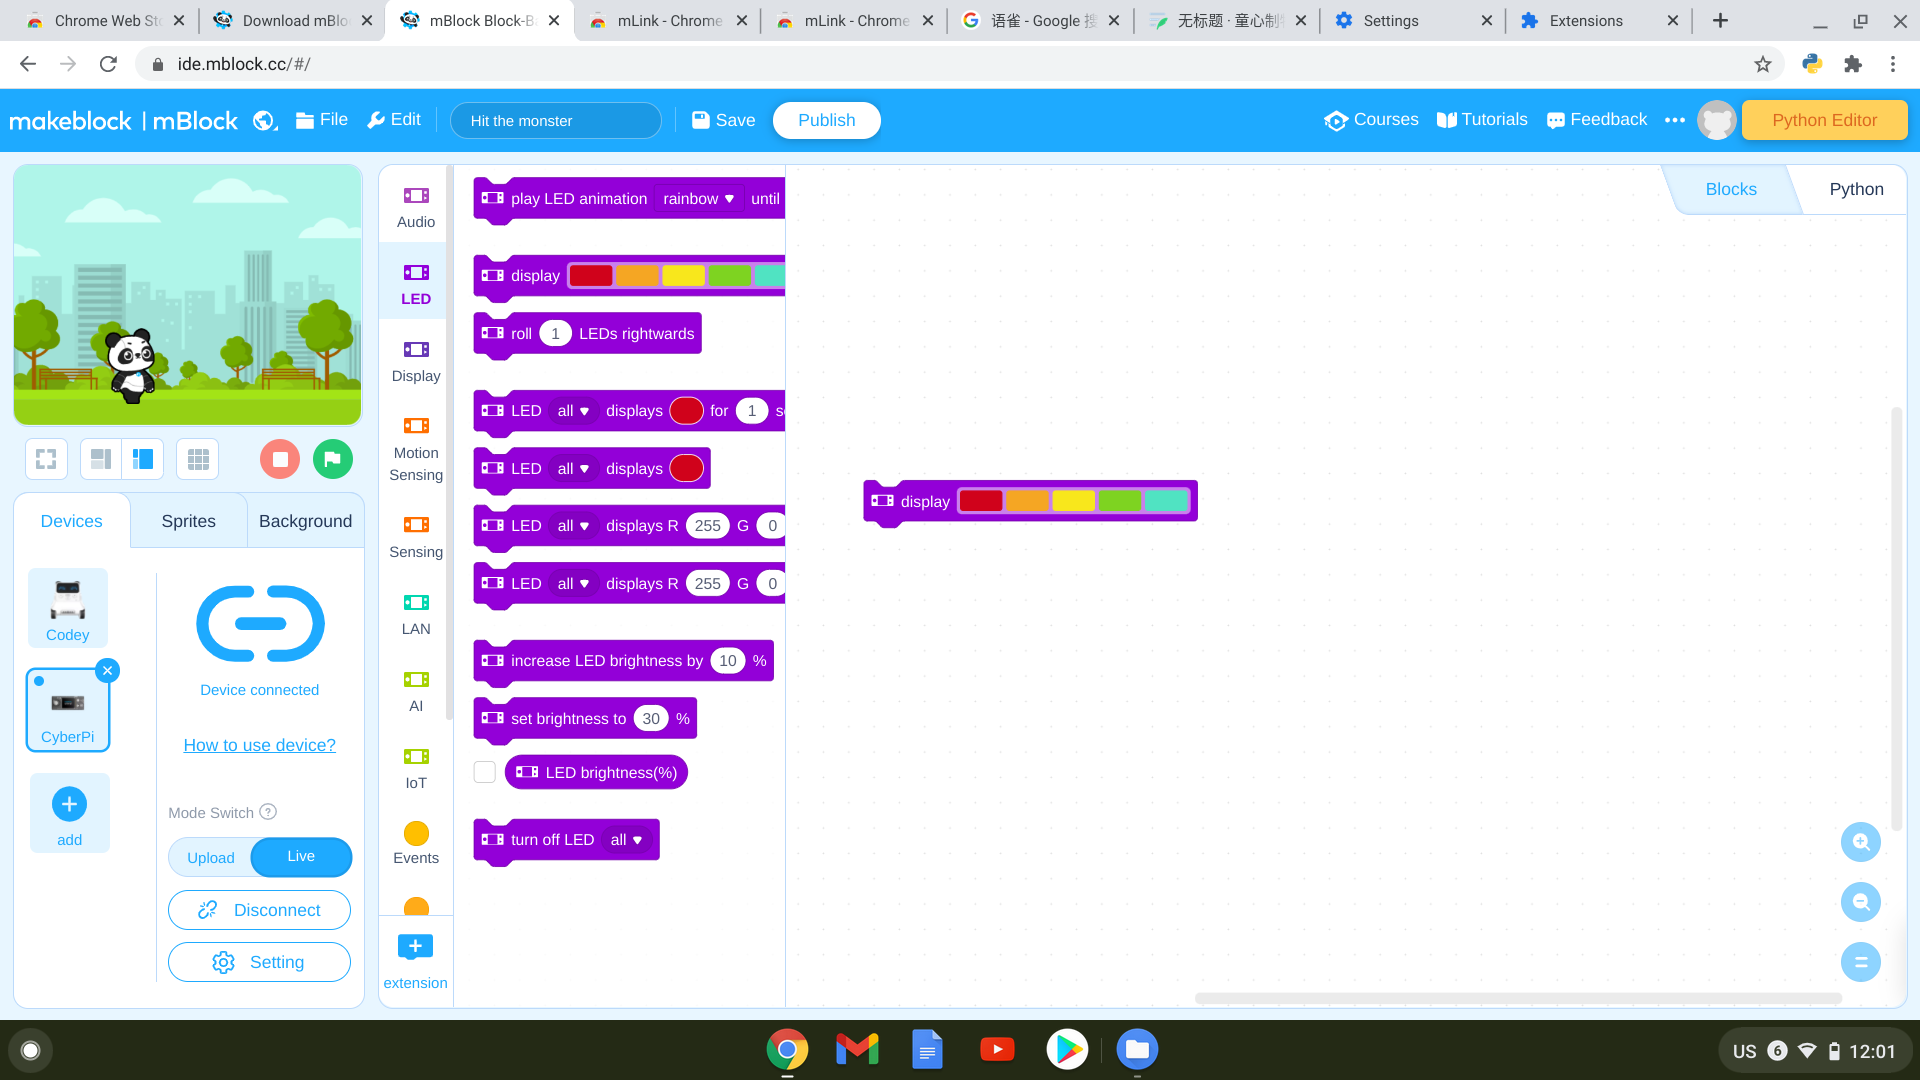 Step 3: Click on the program block and you will see the LED reaction on the CyberPi device.
Upload mode
Step 1: switch the Mode Switch to "Upload".
 Step 2: Edit a simple program (a program head from event catagory is necessary) and click on "Upload"
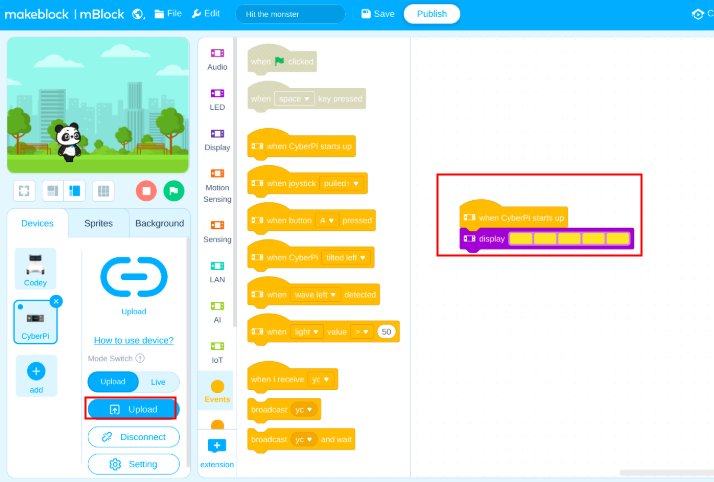 Step 3: Now you will see the LED reaction on the CyberPi device after the program uploaded successfully.